What is Mbbrowser?
Mbbrowser, is a business-oriented anti-detect browser. It lets you create and manage multiple profiles separately, specifying their unique browser fingerprints. Additionally, it features a built-in proxy server manager to switch between IP addresses for an extra layer of online privacy.How to Set Up Oculus Proxies With Mbbrowser
1
Download Mbbrowser
Go to the Mbbrowser official website, download the latest version for your operating system, and install it.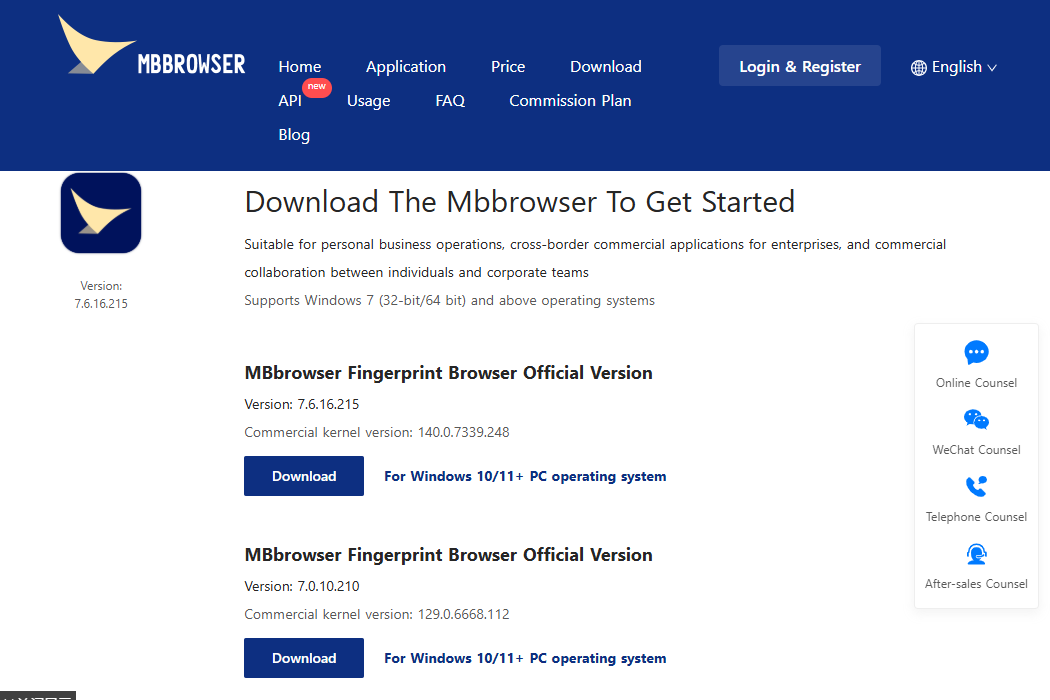
2
Install Mbbrowser
Launch the downloaded file, specify the installation path, and click the blue button to proceed.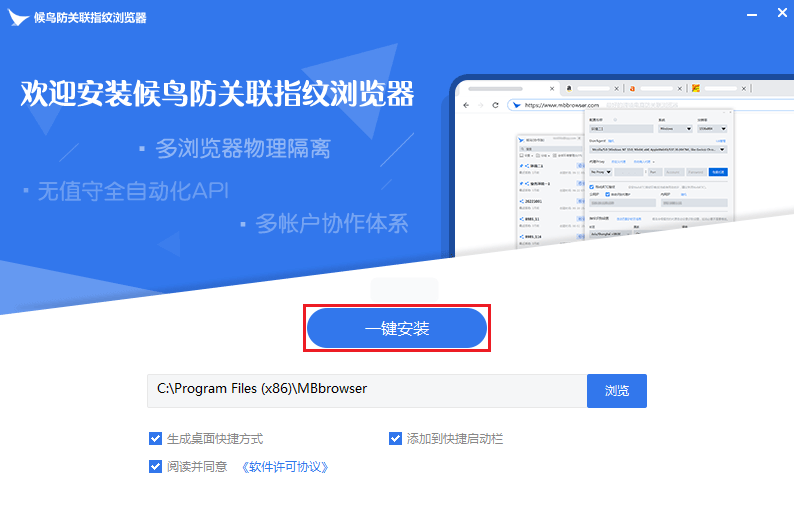
3
Create a New Session
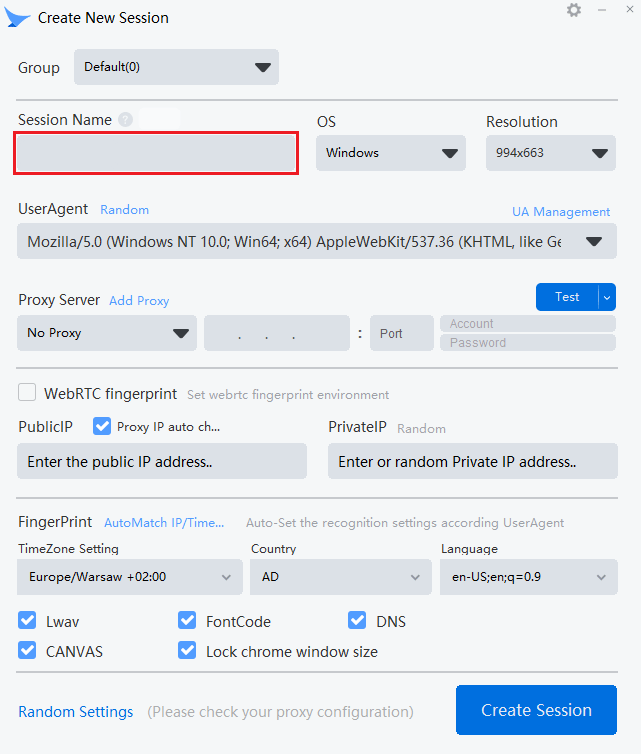
Click the Create New Session button at the lower left of the main Mbbrowser screen.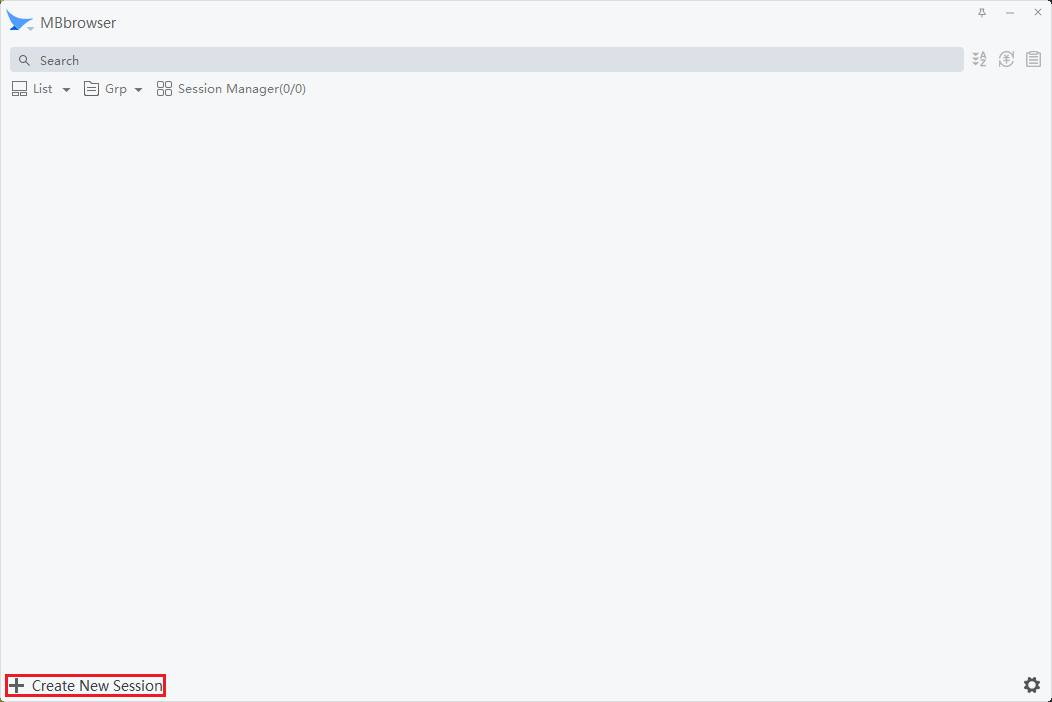
4
Input Proxy Details
In the Proxy Server section, click Add Proxy and specify the protocol. Enter your Oculus Proxies credentials: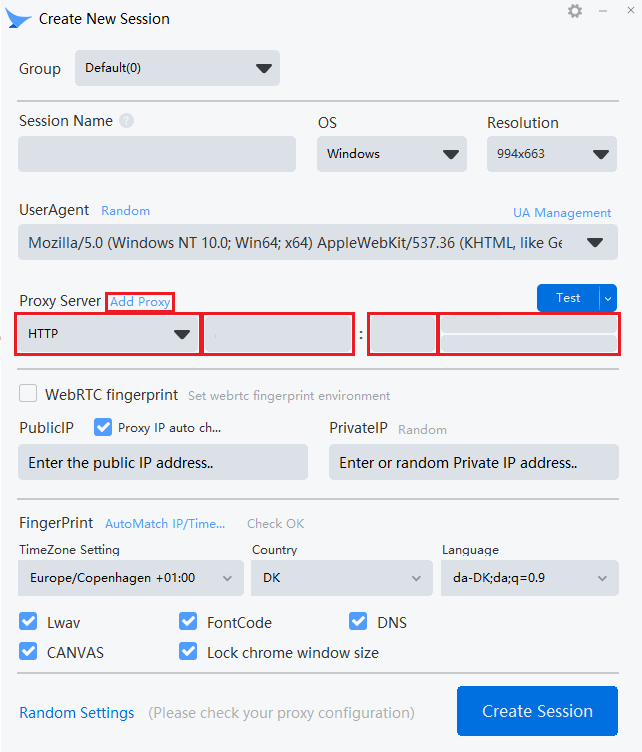
- Host: Your Oculus proxy host (e.g.,
proxy.oculus-proxy.com) - Port: Your Oculus proxy port
- Username / Password: Your Oculus credentials
5
Test Proxy
Click the Test button to verify the connection. A Success status will confirm that your proxy is working correctly.
6
Run Profile
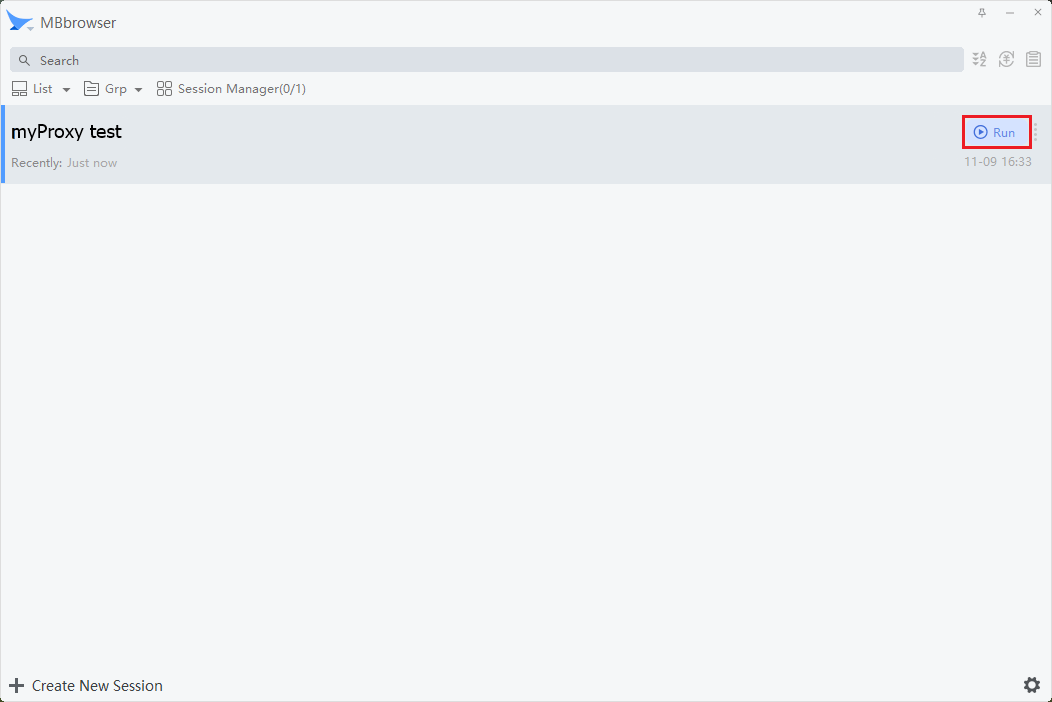
Your newly created session will now appear in the dashboard. Click the Run button to launch the browser session. Your connection is now securely routed through Oculus Proxies.