What is Multilogin?
Multilogin is a robust anti-detect browser platform designed for securely managing multiple online accounts. It enables the creation of virtual browsing profiles that simulate physical devices, keeping your accounts isolated and undetectable. Whether you’re working in advertising, affiliate marketing, e-commerce, or crypto, Multilogin simplifies managing multiple profiles. Pair it with Oculus Proxies for enhanced privacy, bypassing restrictions, and avoiding blocks during your tasks.How to Integrate Oculus Proxies with Multilogin
Install
Visit the Multilogin website, download and install the application.
Create a New Browser Profile
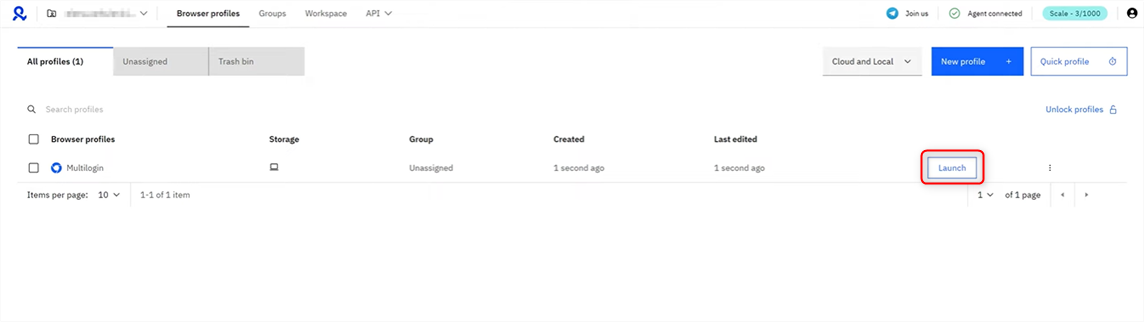
1. On the dashboard, click New Profile to start creating a virtual browser profile.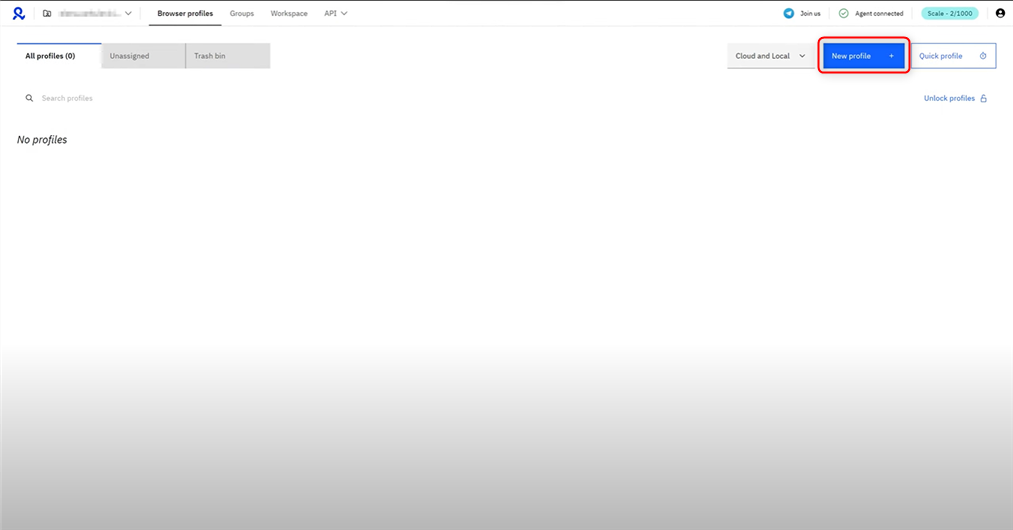
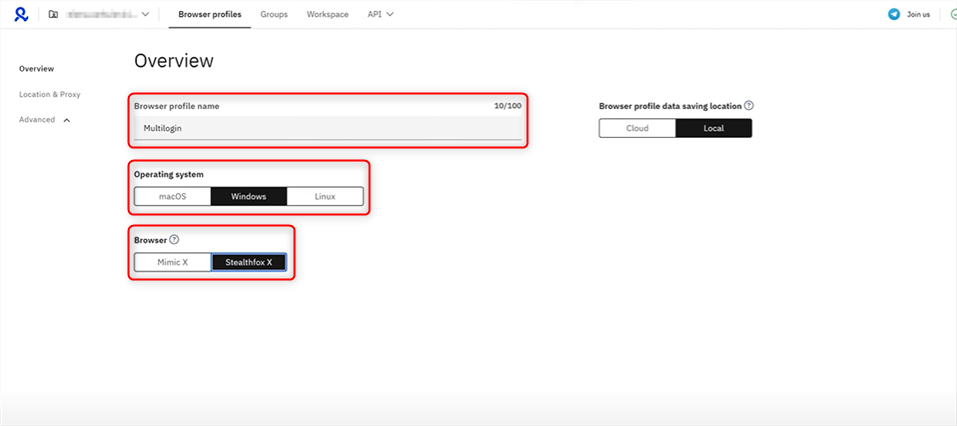
- Profile Name: Choose a descriptive name (e.g., Oculus Profile).
- Operating System: Select the OS that matches your actual setup (macOS, Windows, or Linux) to avoid fingerprint conflicts.
- Storage Type: Choose Cloud Storage if you want the profile accessible across devices or teams.
- Browser Type: Select between Mimic (Chrome-based) or Stealthfox (Firefox-based), depending on your preference.
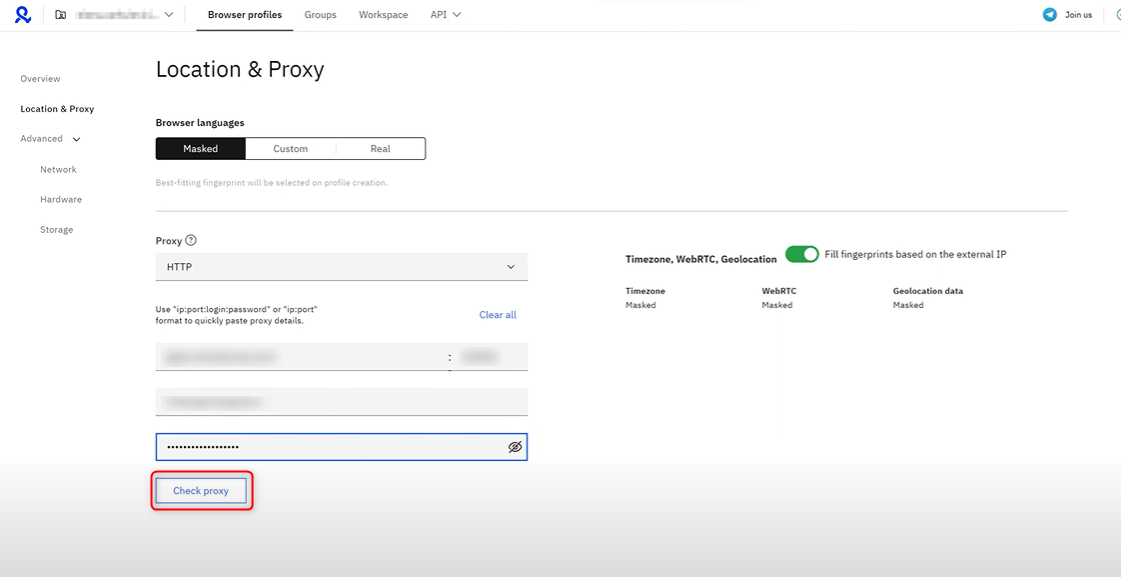
Configure Proxy Settings
1. In the profile setup, navigate to the Proxy section.2. Choose Custom as the proxy type.3. Enter your Oculus Proxy details: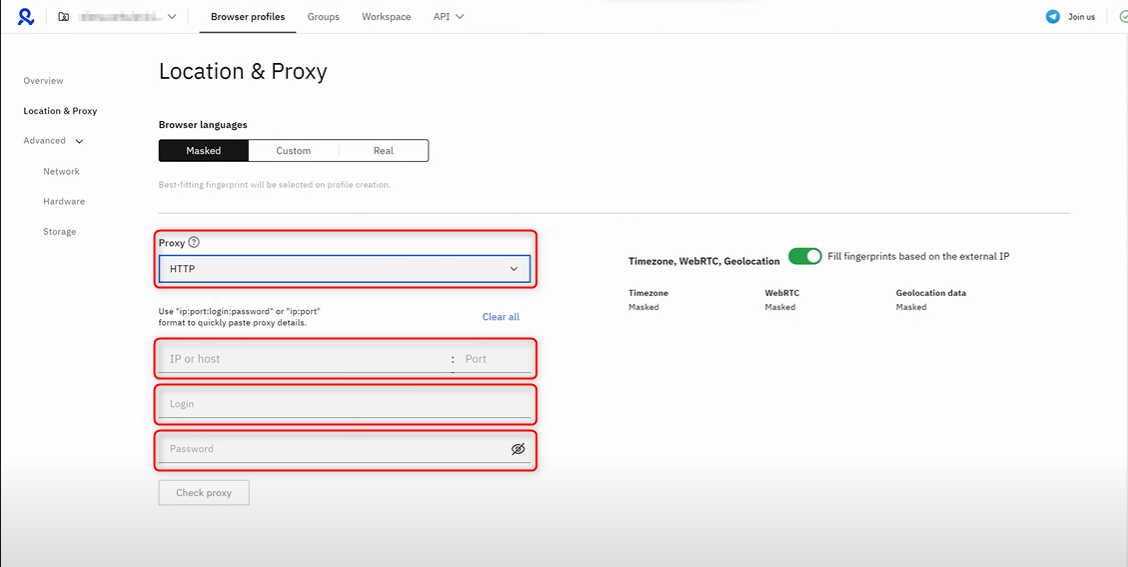
-
Proxy Type: Select
HTTP,HTTPS, orSOCKS5. -
New Address: Input
proxy.oculus-proxy.com. - Port: Enter the port number from your Oculus Dashboard.
- Username: Use your Oculus proxy username.
- Password: Enter your Oculus proxy password.
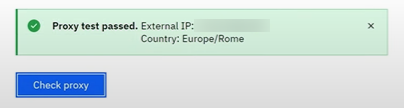
Test and Save Your Proxy
1. Click Check Proxy to verify the connection.