
What is Ghost Browser?
Ghost Browser is a productivity-focused web browser designed to help users manage multiple online accounts simultaneously. Its unique multi-session tabs allow you to log into multiple accounts on the same platform without session conflicts. By integrating Oculus Proxies, you can enhance privacy and security while efficiently managing workflows.How to Integrate Oculus Proxies With Ghost Browser
1
Install and Open Ghost Browser
1. Download Ghost Browser from the official website.2. Follow the installation steps and open the browser.3. Log in to your Ghost Browser account. If you don’t have one, create a new account.
2
Access Ghost Proxy Control
1. Click the Ghost Proxy Control icon in the top-right corner of the browser.2. Select Add/Edit Proxies from the dropdown menu.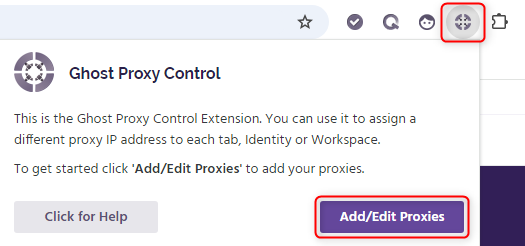
3
Add a New Oculus Proxy
In the Proxy Manager, click Add a Single Proxy.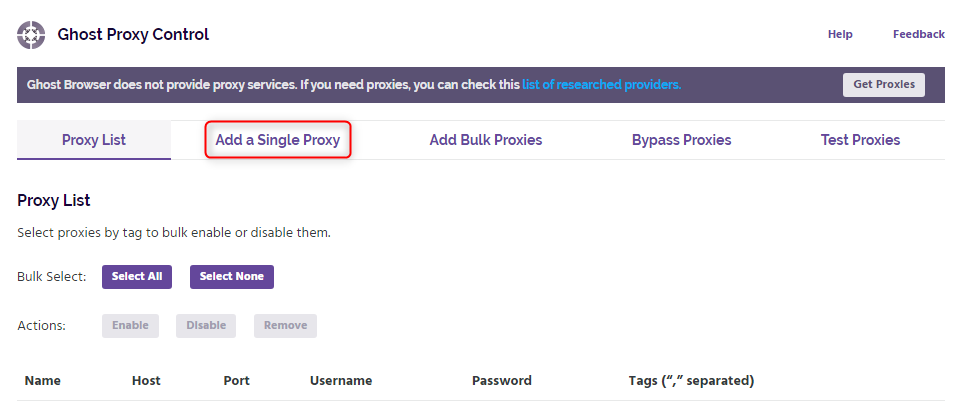
4
Enter Oculus Proxy Details
1. Fill in the proxy details: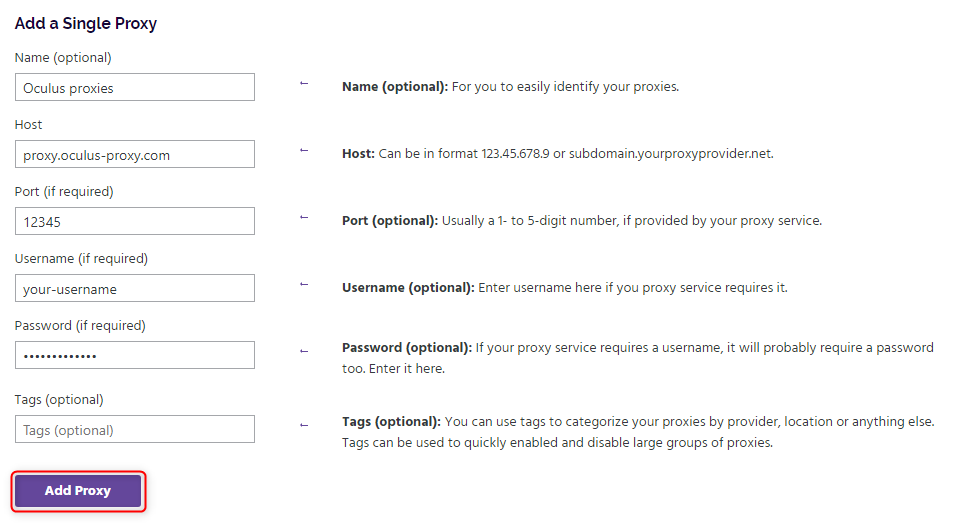
- Name (Optional): Add a custom name (e.g., “Oculus Proxy”).
-
Host:
proxy.oculus-proxy.com - Port: Use the port number from your Oculus Dashboard.
- Username: Your Oculus Proxy username.
- Password: Your Oculus Proxy password.
5
Activate the Proxy
1. Go back to the Ghost Proxy Control menu.2. Under Active Identity or Active Workspace, select the Oculus proxy you just added.3. Reload your browser tabs to apply the proxy settings.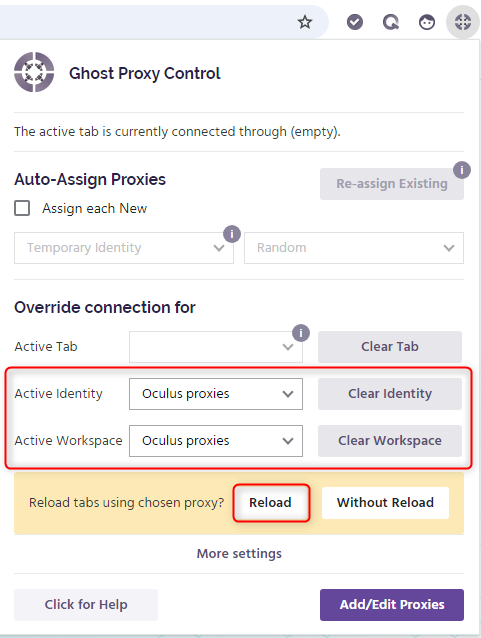
6
Verify the Proxy Connection
1. Open a new tab in Ghost Browser.2. Visit httpbin.org/ip to check your current IP address.3. Ensure that the displayed IP matches your Oculus Proxy settings.