What is Shadowsocks?
Shadowsocks is an open-source proxy tool designed to bypass censorship and enhance online privacy. Unlike traditional VPNs, it operates as a secure SOCKS5 proxy, offering greater flexibility and speed while maintaining a lightweight footprint. Shadowsocks is particularly effective at evading deep packet inspection (DPI), making it a popular choice for users who need reliable access to restricted content. By using Shadowsocks together with Oculus Proxies, you can take full control of your internet connection, ensuring a seamless and private browsing experience.How to Integrate Oculus Proxies With Shadowsocks
- Windows
- Android
1
Download
Get the latest .zip file from the official Shadowsocks GitHub repository.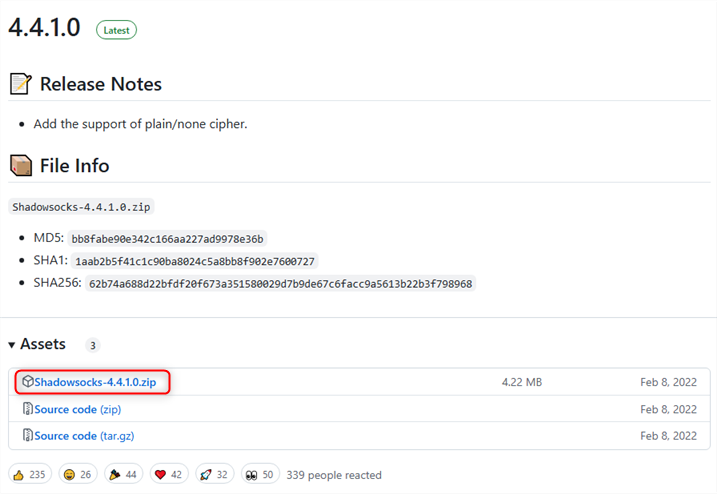
2
Extract & Run
Unzip the downloaded folder and open Shadowsocks.exe.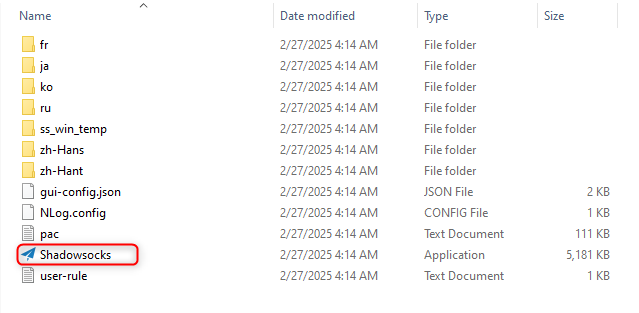
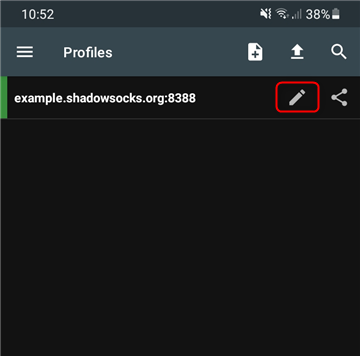
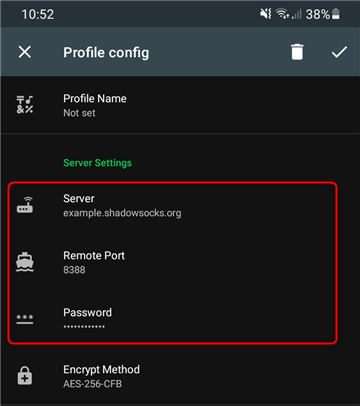
3
Configure Your Proxy
In the application window, enter the 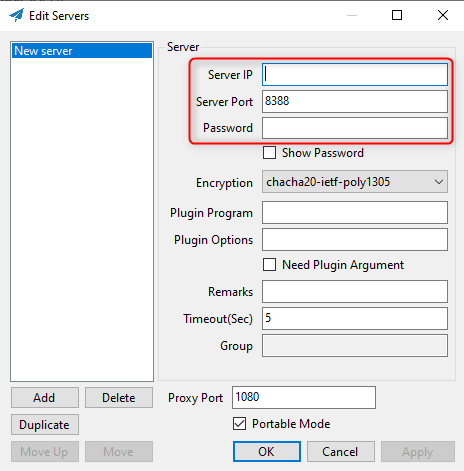
IP(Host), Port, and Password of your proxy server.4
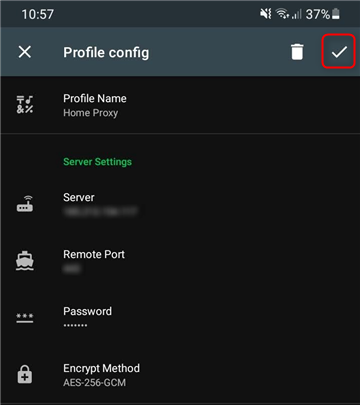
Save Your Settings
Click Apply and then Save to store your configuration.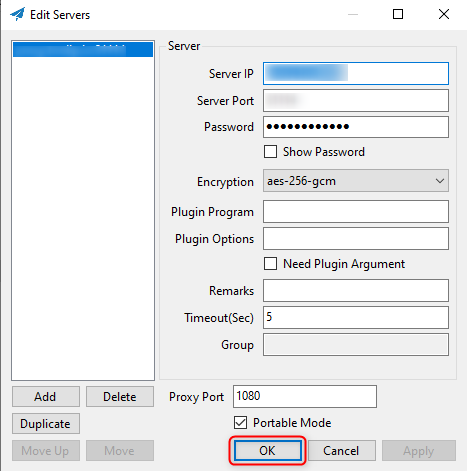
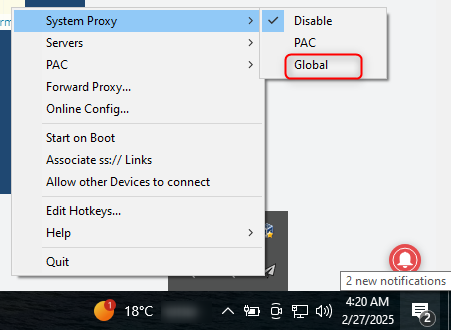
5
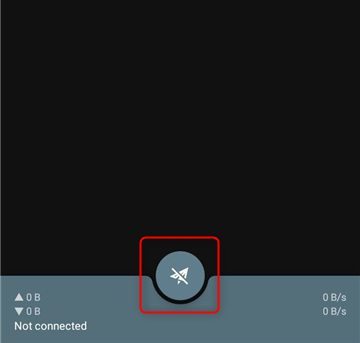
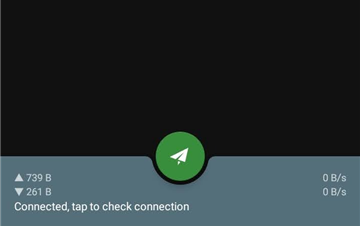
Enable the Proxy
Right-click the Shadowsocks tray icon, navigate to System Proxy, and select Global to activate the proxy. Your Shadowsocks proxy is now set up and running!