What is FoxyProxy?
FoxyProxy is a browser extension for Chrome and Firefox that simplifies proxy management. It allows users to switch between proxies effortlessly, making it an ideal tool for:- Web scraping
- Testing applications
- Bypassing geo-restrictions
- Anonymous and secure browsing
How to Integrate Oculus Proxies With FoxyProxy
1
Download and Install FoxyProxy
- For Chrome: Get FoxyProxy from the Chrome Web Store.
- For Firefox: Download it from the Mozilla Add-ons page.
2
Open Proxy Settings
1. Right-click the FoxyProxy icon in your toolbar.2. Select Options to open the proxy configuration page.
3
Add a New Proxy
1. Navigate to the Proxies tab in the settings menu.2. Click Add to create a new proxy configuration.
4
Enter Oculus Proxy Details
1. In the proxy configuration window, enter your Oculus Proxy details: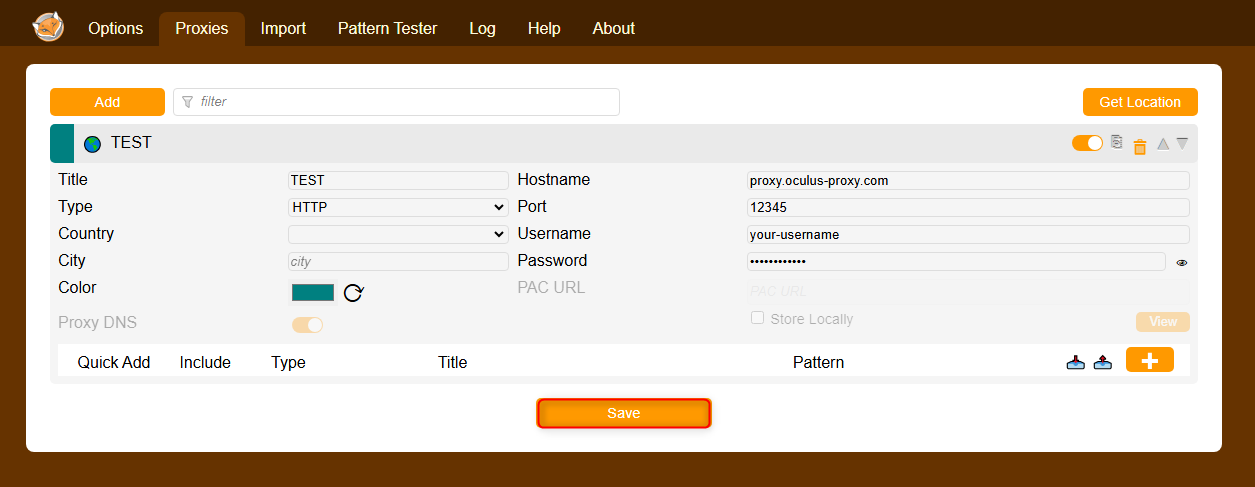
-
Type: Choose
HTTP,HTTPS, orSOCKS5(depending on your proxy type). -
Hostname:
proxy.oculus-proxy.com - Port: Use the port number provided in your Oculus Dashboard.
- Username: Your Oculus Proxy username.
- Password: Your Oculus Proxy password.
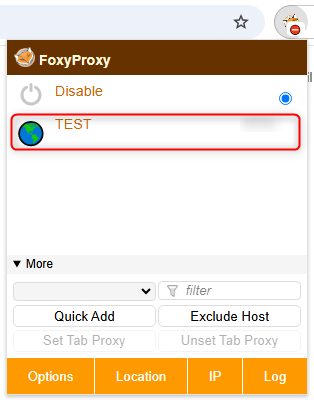
5
Enable and Test Your Proxy
1. Right-click the FoxyProxy icon in your toolbar.2. Select the proxy you just configured.3. Open httpbin.org/ip to verify that your proxy is active.