
What is Octoparse?
Octoparse is a no-code web scraping tool that makes data collection easy and efficient. Its user-friendly, point-and-click interface allows you to extract data from websites without any coding skills. Whether you’re conducting market research, tracking prices, or generating leads, Octoparse enables you to automate, customize, and schedule your scraping tasks. Export data in formats like CSV or Excel and transform it into actionable insights with ease.How to Integrate Oculus Proxies with Octoparse
1
Download and Install Octoparse
1. Visit the Octoparse website.2. Download the version compatible with your operating system.3. Install the application and launch Octoparse.4. Log in with your account credentials.
2
Create a New Scraping Task
1. On the Octoparse dashboard, click the +New button.2. Select Custom Task to begin creating a new scraping project.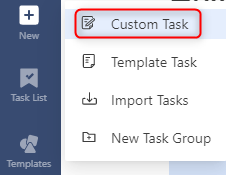
3
Enter the Target URL
1. In the URL Input field, enter the web address of the site you want to scrape.2. Click Save to proceed.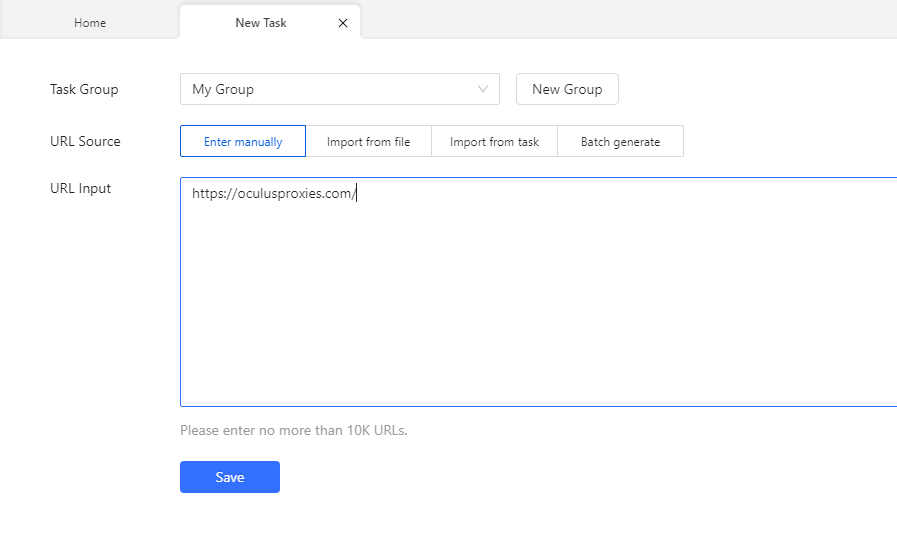
4
Access Proxy Settings
1. Once the target page loads, go to Task Settings in the left-hand menu.2. Click Anti-blocking to access the proxy configuration options.
5
Enable and Configure Proxies
1. Check the box labeled Access websites via proxies.2. Enable Use my own proxies, then click Configure to open the proxy settings window.
6
Add Oculus Proxy Details
1. Log in to your Oculus Dashboard.2. Click Show Configured List under the Generic tab to copy your proxy details.3. Paste the proxy information into the IP Proxies field in Octoparse.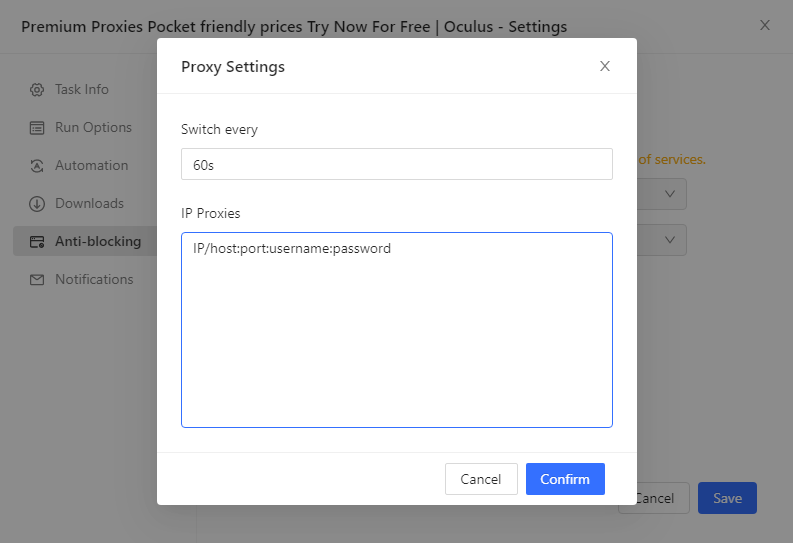
7
Configure Proxy Behavior
1. If using rotating proxies, set the Switch interval to define how frequently IPs are rotated.2. For sticky proxies, adjust the Switch interval to align with your session requirements.
8
Save and Start Scraping
1. Click Confirm to apply your proxy settings.2. Save the task configuration by clicking Save.3. Click Run to start your scraping task with your Oculus Proxy securely integrated.