What is Norconex?
Norconex is a powerful, Java-based open-source web crawler designed for flexibility and deep customization. It supports a wide range of file types, integrates easily with third-party tools, and uses XML-based configuration. Key capabilities include data extraction, parsing, OCR, JavaScript rendering, and full compliance with robots.txt—making it perfect for indexing, content aggregation, and SEO optimization. When paired with Oculus Proxies, you can bypass geo-restrictions, prevent IP bans, and ensure stable, region-specific access for large-scale, reliable web crawling.How to Integrate Oculus Proxies with Norconex
1
Set up Java
Download and set up the correct version of the Java Development Kit(JDK) that matches your operating system.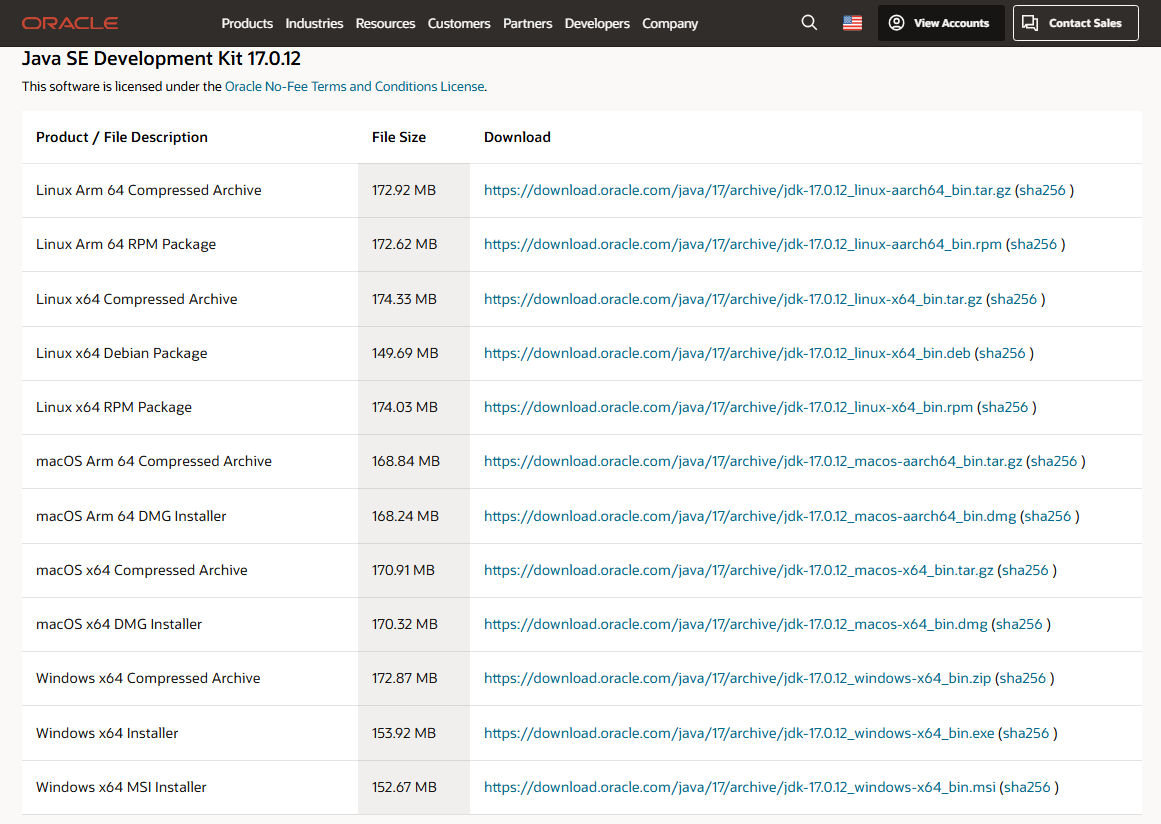
2
Configure Environment Settings
In the Windows search bar, type Environment Variables and select Edit the system environment variables. Under User variables for [USERNAME], click New to add a new variable.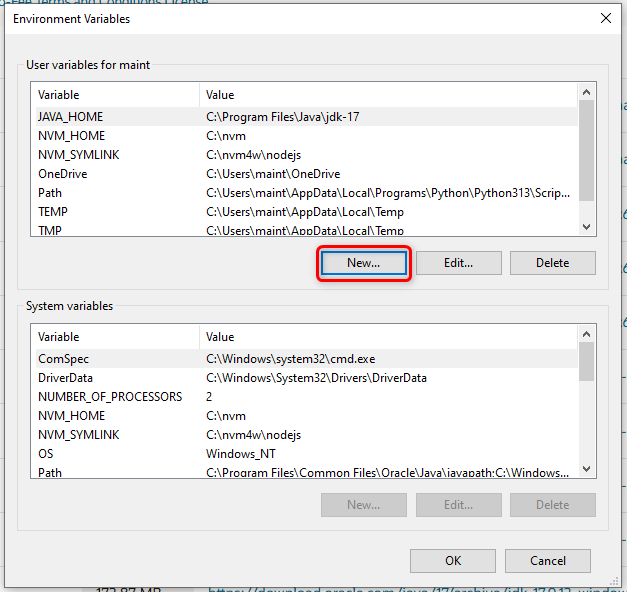
3
Set JAVA_HOME
In the Variable name field, input 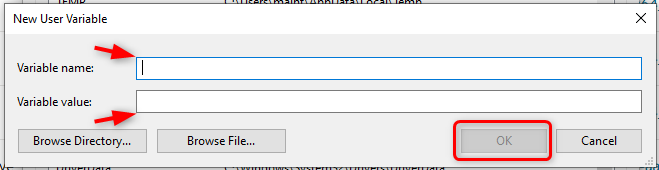
JAVA_HOME. For the Variable value, provide the full path to your installed JDK directory.
Confirm by clicking OK.4
Set up Norconex
Visit the official Norconex website and download the most recent release of the software.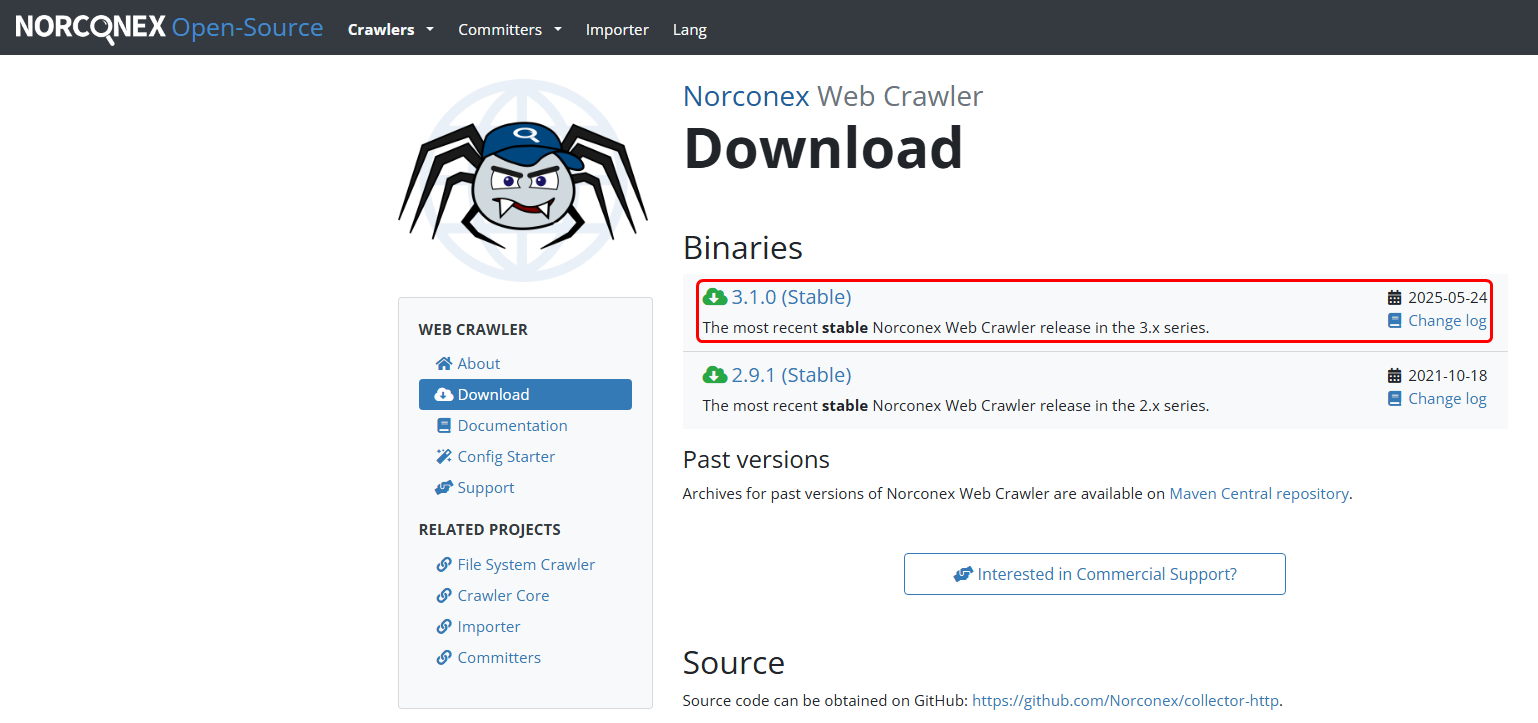
5
Configuration
Create a dedicated folder for Norconex (e.g., C:\Norconex). Locate the downloaded .zip archive, right-click it, and extract the contents into the folder you just created.Then go to:
Norconex → Examples → collector-http-config-reference.xml.
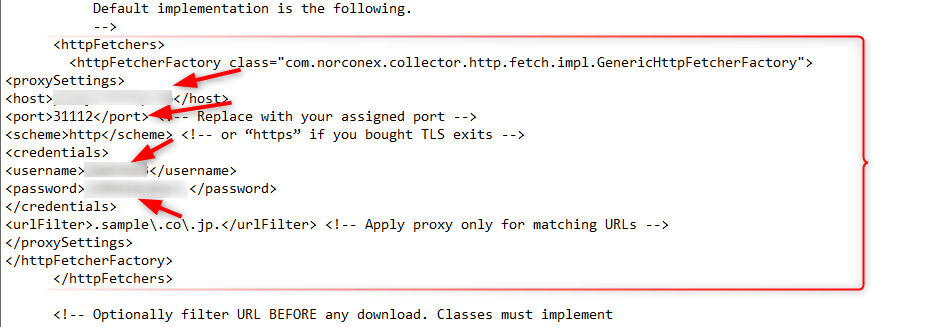
Open this file using a text editor such as Notepad for example.Within the file find the <httpFetchers> and </httpFetchers> tags, and place the necessary configuration code between them.6
Verify Configuration
Double-check that the XML file structure is properly updated with your changes. It should resemble the provided example: