
Why Use Oculus Proxies on iOS?
Setting up Oculus Proxies on your iOS device provides several benefits:- Enhanced Privacy – Keep your IP address hidden and protect your personal data.
- Global Access – Connect through different regions to unlock geo-restricted websites and services.
- Reliable Connections – Reduce the risk of blocks or interruptions while browsing, shopping, or managing accounts.
How to Set Up Oculus Proxies on iOS
1
Access Wi-Fi Settings
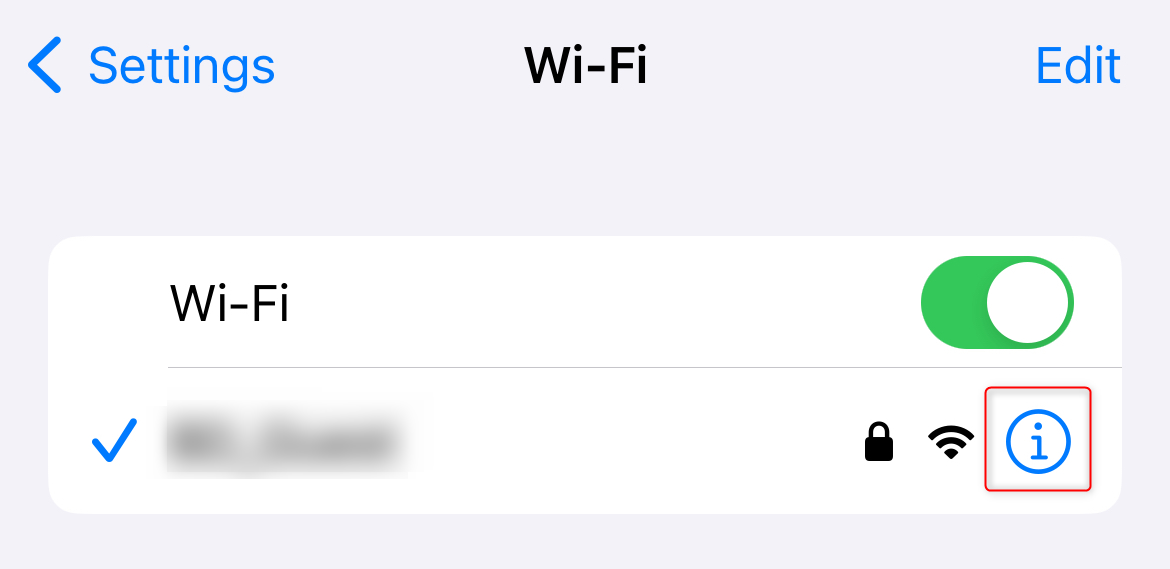
1. Open the Settings app on your iOS device.2. Tap Wi-Fi and find your connected network.3. Tap the i (information) icon next to the network name.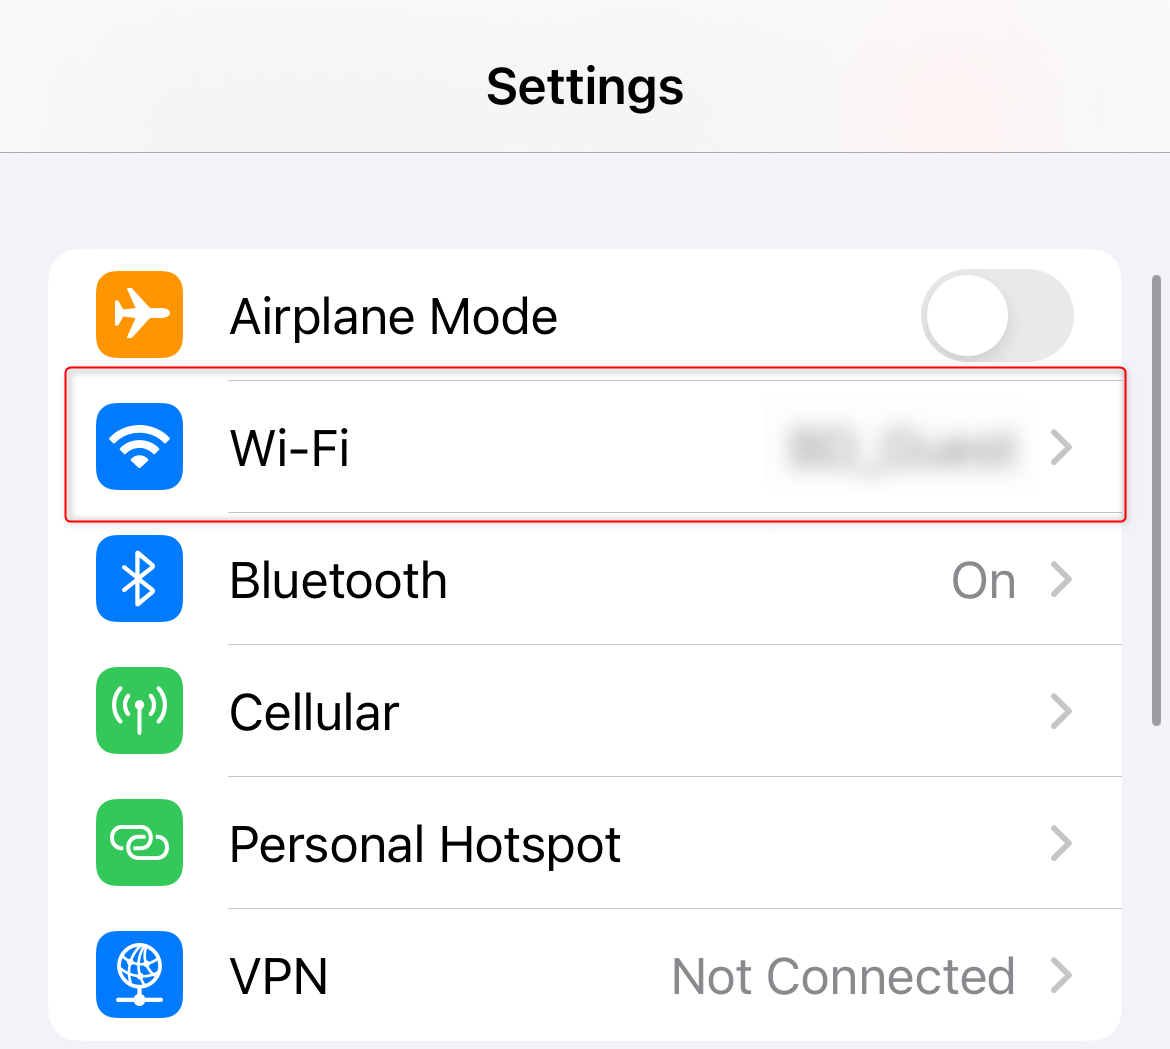 \
\
\2
Enable Manual Proxy Configuration
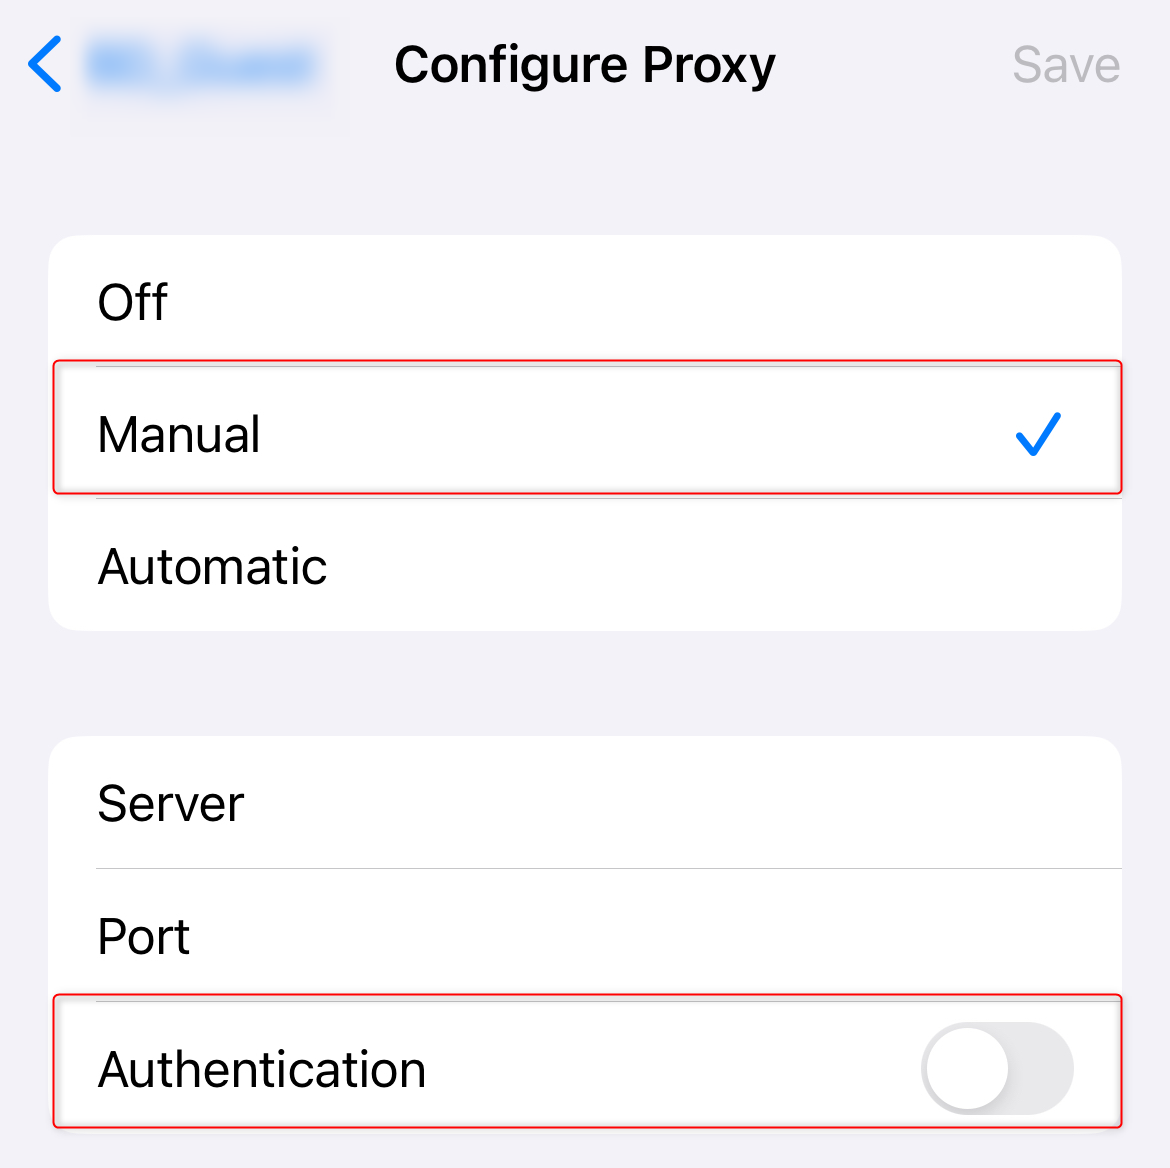
1. Scroll down to the HTTP Proxy section.2. Select Manual to enable custom proxy settings.3. Toggle Authentication to On.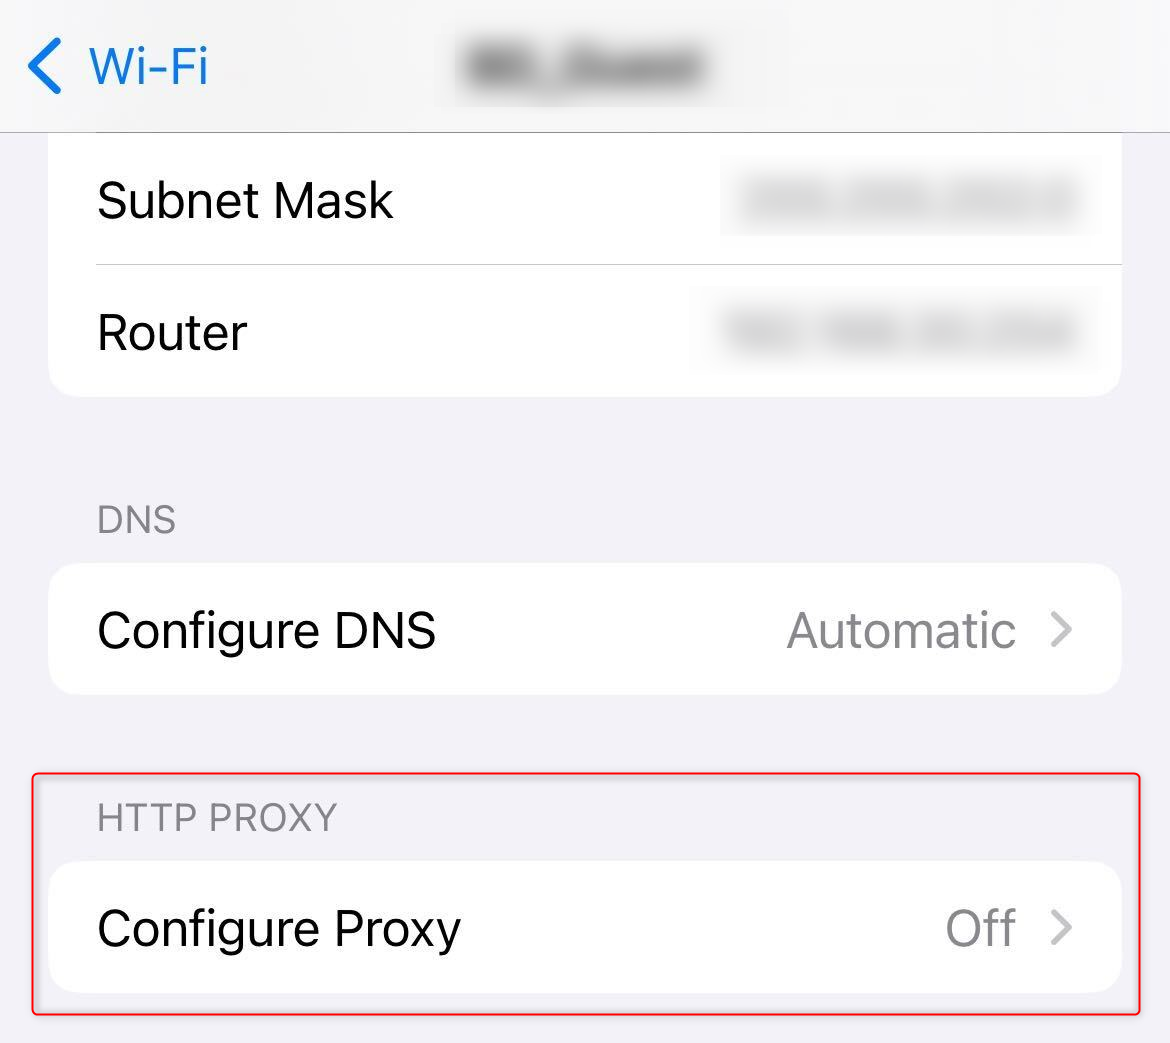 \
\
\3
Enter Oculus Proxy Details
1. Server: Input 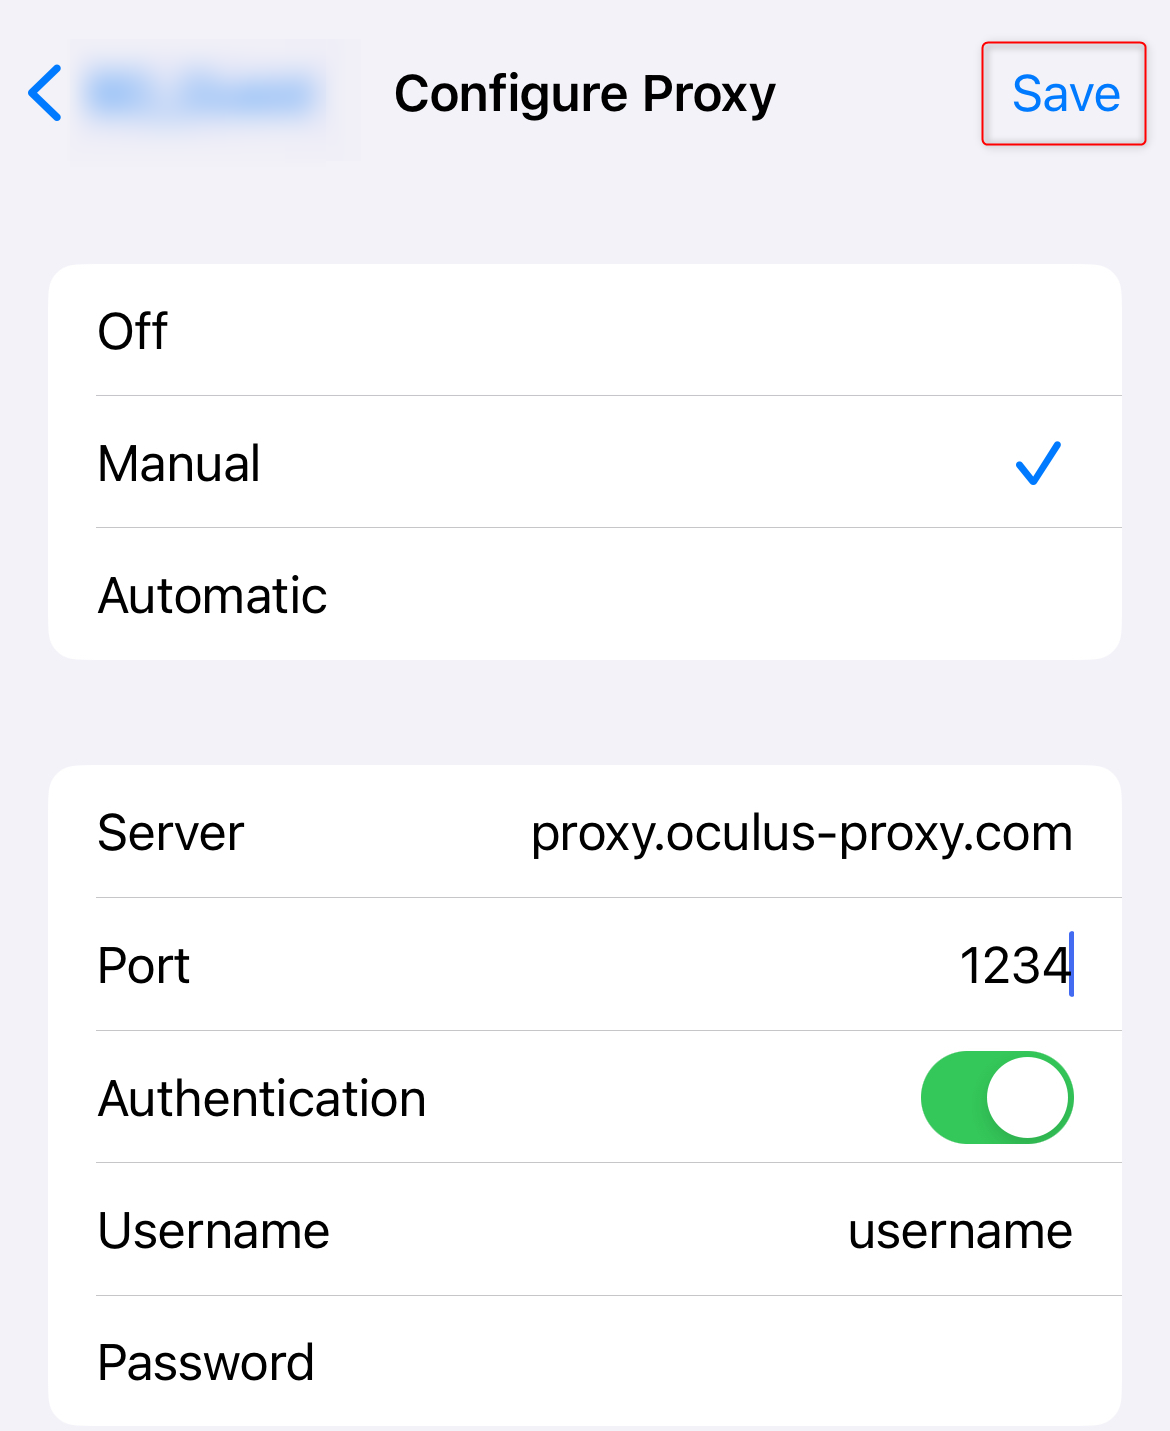
proxy.oculus-proxy.com or the Host provided in your dashboard.2. Port: Enter the Port number from your Oculus Dashboard.3. Username and Password: Add your Oculus Proxy login credentials.4. Double-check the details for accuracy and tap Save to apply the changes.4
Verify the Configuration
1. Open Safari or any browser on your device.2. Visit httpbin.org/ip to check your IP address.3. Confirm that the displayed IP matches the one assigned by Oculus Proxies.