> ## Documentation Index
> Fetch the complete documentation index at: https://docs.oculusproxies.com/llms.txt
> Use this file to discover all available pages before exploring further.
# How to Set Up Oculus Proxies With Mbbrowser
> Optimize your workflow and simplify multi-account management by integrating Oculus Proxies with Mbbrowser. This guide helps you configure secure proxy connections for safe social media management and advanced fingerprinting control.
## What is Mbbrowser?
**Mbbrowser**, is a business-oriented anti-detect browser. It lets you create and manage multiple profiles separately, specifying their unique browser fingerprints. Additionally, it features a built-in proxy server manager to switch between IP addresses for an extra layer of online privacy.
If you're using **Oculus** to access search engines like **Google, Bing, or Yandex** and facing connection issues, the proxy type could be the reason. **ISP Premium Proxies** ensure stable and unrestricted access, preventing blocks that standard proxies might encounter. Switching to **ISP Premium Proxies** can help maintain smooth and reliable performance.
## How to Set Up Oculus Proxies With Mbbrowser
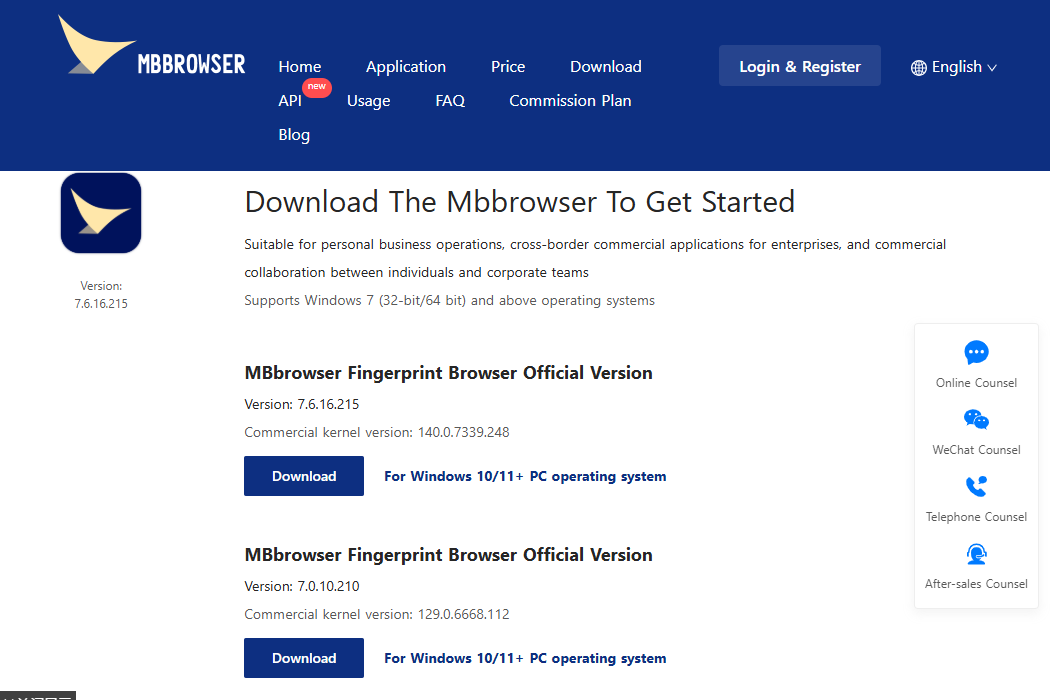
Go to the [Mbbrowser official website](https://www.mbbrowser.com/), download the latest version for your operating system, and install it.
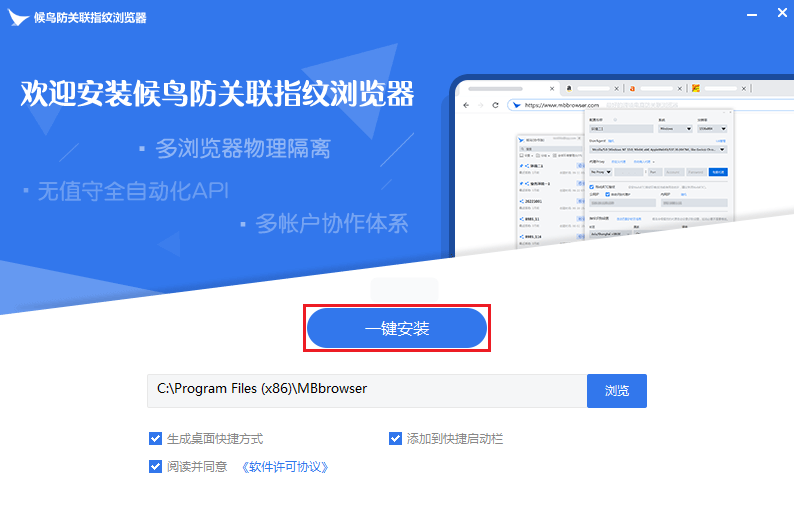
 Launch the downloaded file, specify the installation path, and click the **blue button** to proceed.
 Once the installation is complete, click the middle button to launch Mbbrowser. You can switch to another language by clicking the **language icon** in the top-right corner.
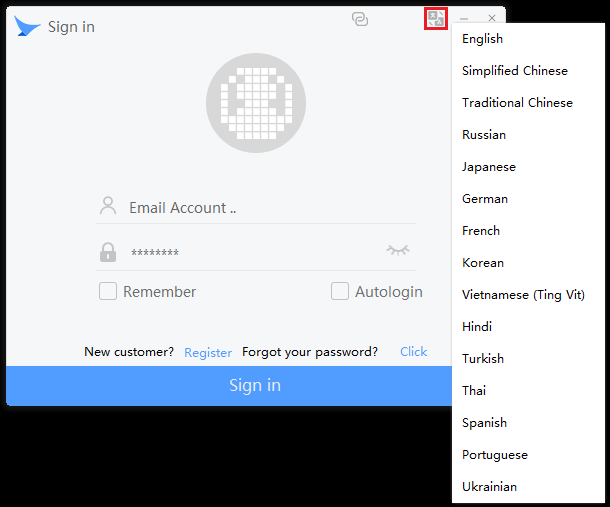 Click **Register** and proceed with creating your account. Mbbrowser will send a verification link to your email. After verifying, log in to your Mbbrowser account.
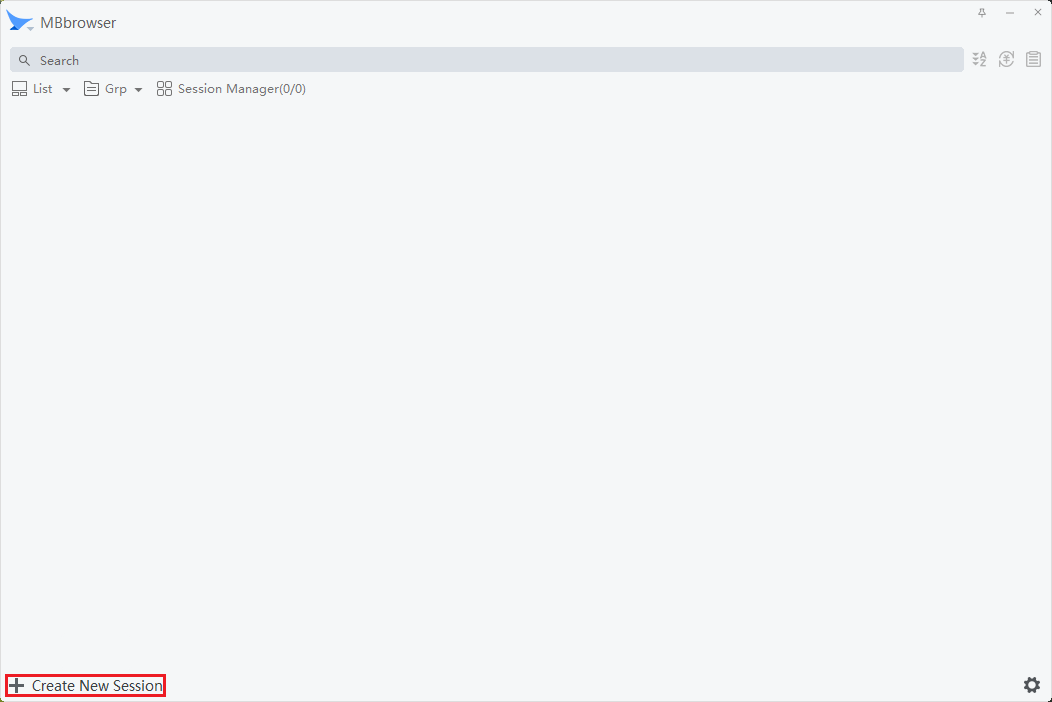
Click the **Create New Session** button at the lower left of the main Mbbrowser screen.
Click **Register** and proceed with creating your account. Mbbrowser will send a verification link to your email. After verifying, log in to your Mbbrowser account.
Click the **Create New Session** button at the lower left of the main Mbbrowser screen.
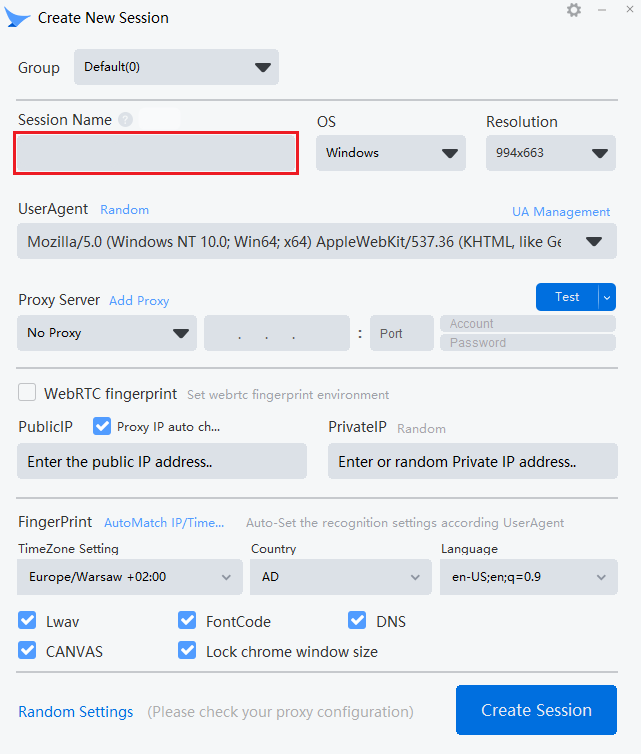
 Name your session and select fingerprint criteria such as operating system, user agent, timezone, and others.
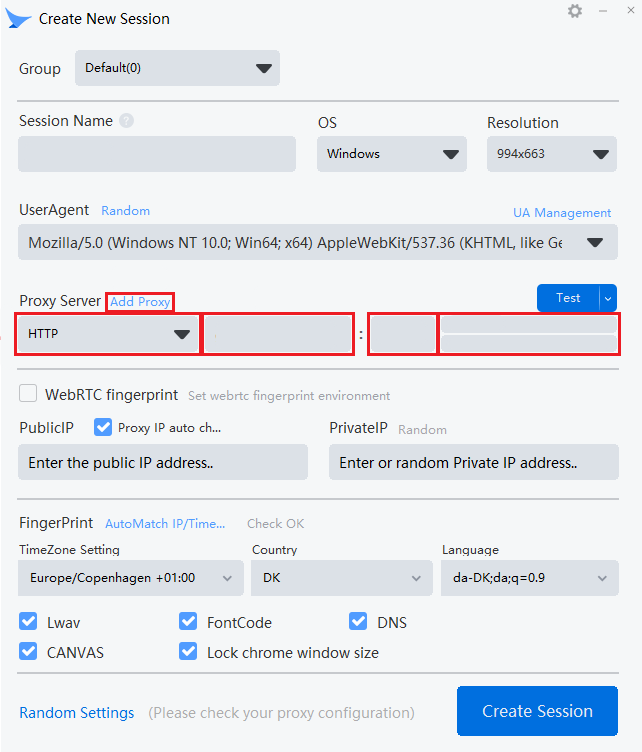
 In the **Proxy Server** section, click **Add Proxy** and specify the protocol. Enter your Oculus Proxies credentials:
* **Host:** Your Oculus proxy host (e.g., `proxy.oculus-proxy.com`)
* **Port:** Your Oculus proxy port
* **Username / Password:** Your Oculus credentials
In the **Proxy Server** section, click **Add Proxy** and specify the protocol. Enter your Oculus Proxies credentials:
* **Host:** Your Oculus proxy host (e.g., `proxy.oculus-proxy.com`)
* **Port:** Your Oculus proxy port
* **Username / Password:** Your Oculus credentials
 Click the **Test** button to verify the connection. A **Success** status will confirm that your proxy is working correctly.
 Once verified, click **Create Session** to save the profile.
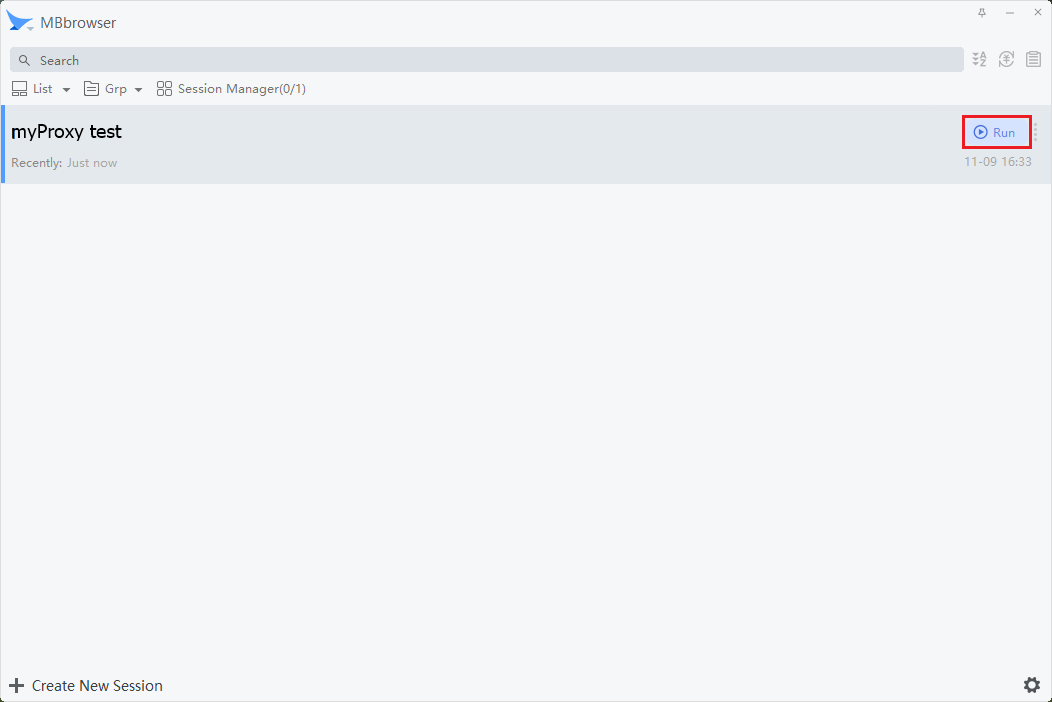
Your newly created session will now appear in the dashboard. Click the **Run** button to launch the browser session. Your connection is now securely routed through Oculus Proxies.
Once verified, click **Create Session** to save the profile.
Your newly created session will now appear in the dashboard. Click the **Run** button to launch the browser session. Your connection is now securely routed through Oculus Proxies.